

Renovation Diaries · Helensvale waterfront home
A waterfront home, ready for its next chapter
This renovation is about refreshing the home from floor to ceiling while taking care of the repairs that are easy to overlook. We’re coordinating the trades, materials and finishing details, with a target of approximately three weeks for the planned work. That is a working target, not a guaranteed completion date; discoveries on site, trade availability and weather may change the sequence.
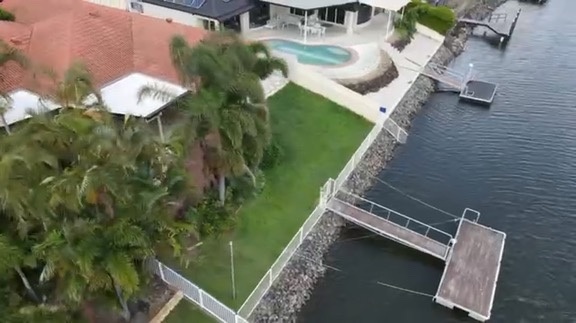
Video 1 · Episode 1
Video 2 · Episode 3 / Update 2
Electrical work is marked done, the old flooring is being lifted and plastering has started. There’s still plenty to coordinate before the home is finished.
Video 3 · Episode 4 / Update 3
The next on-site instalment in the Helensvale renovation series.
Video 4 · Episode 5 / Update 4
The renovation continues in Update 4.
Video 5 · Episode 6 / Update 5
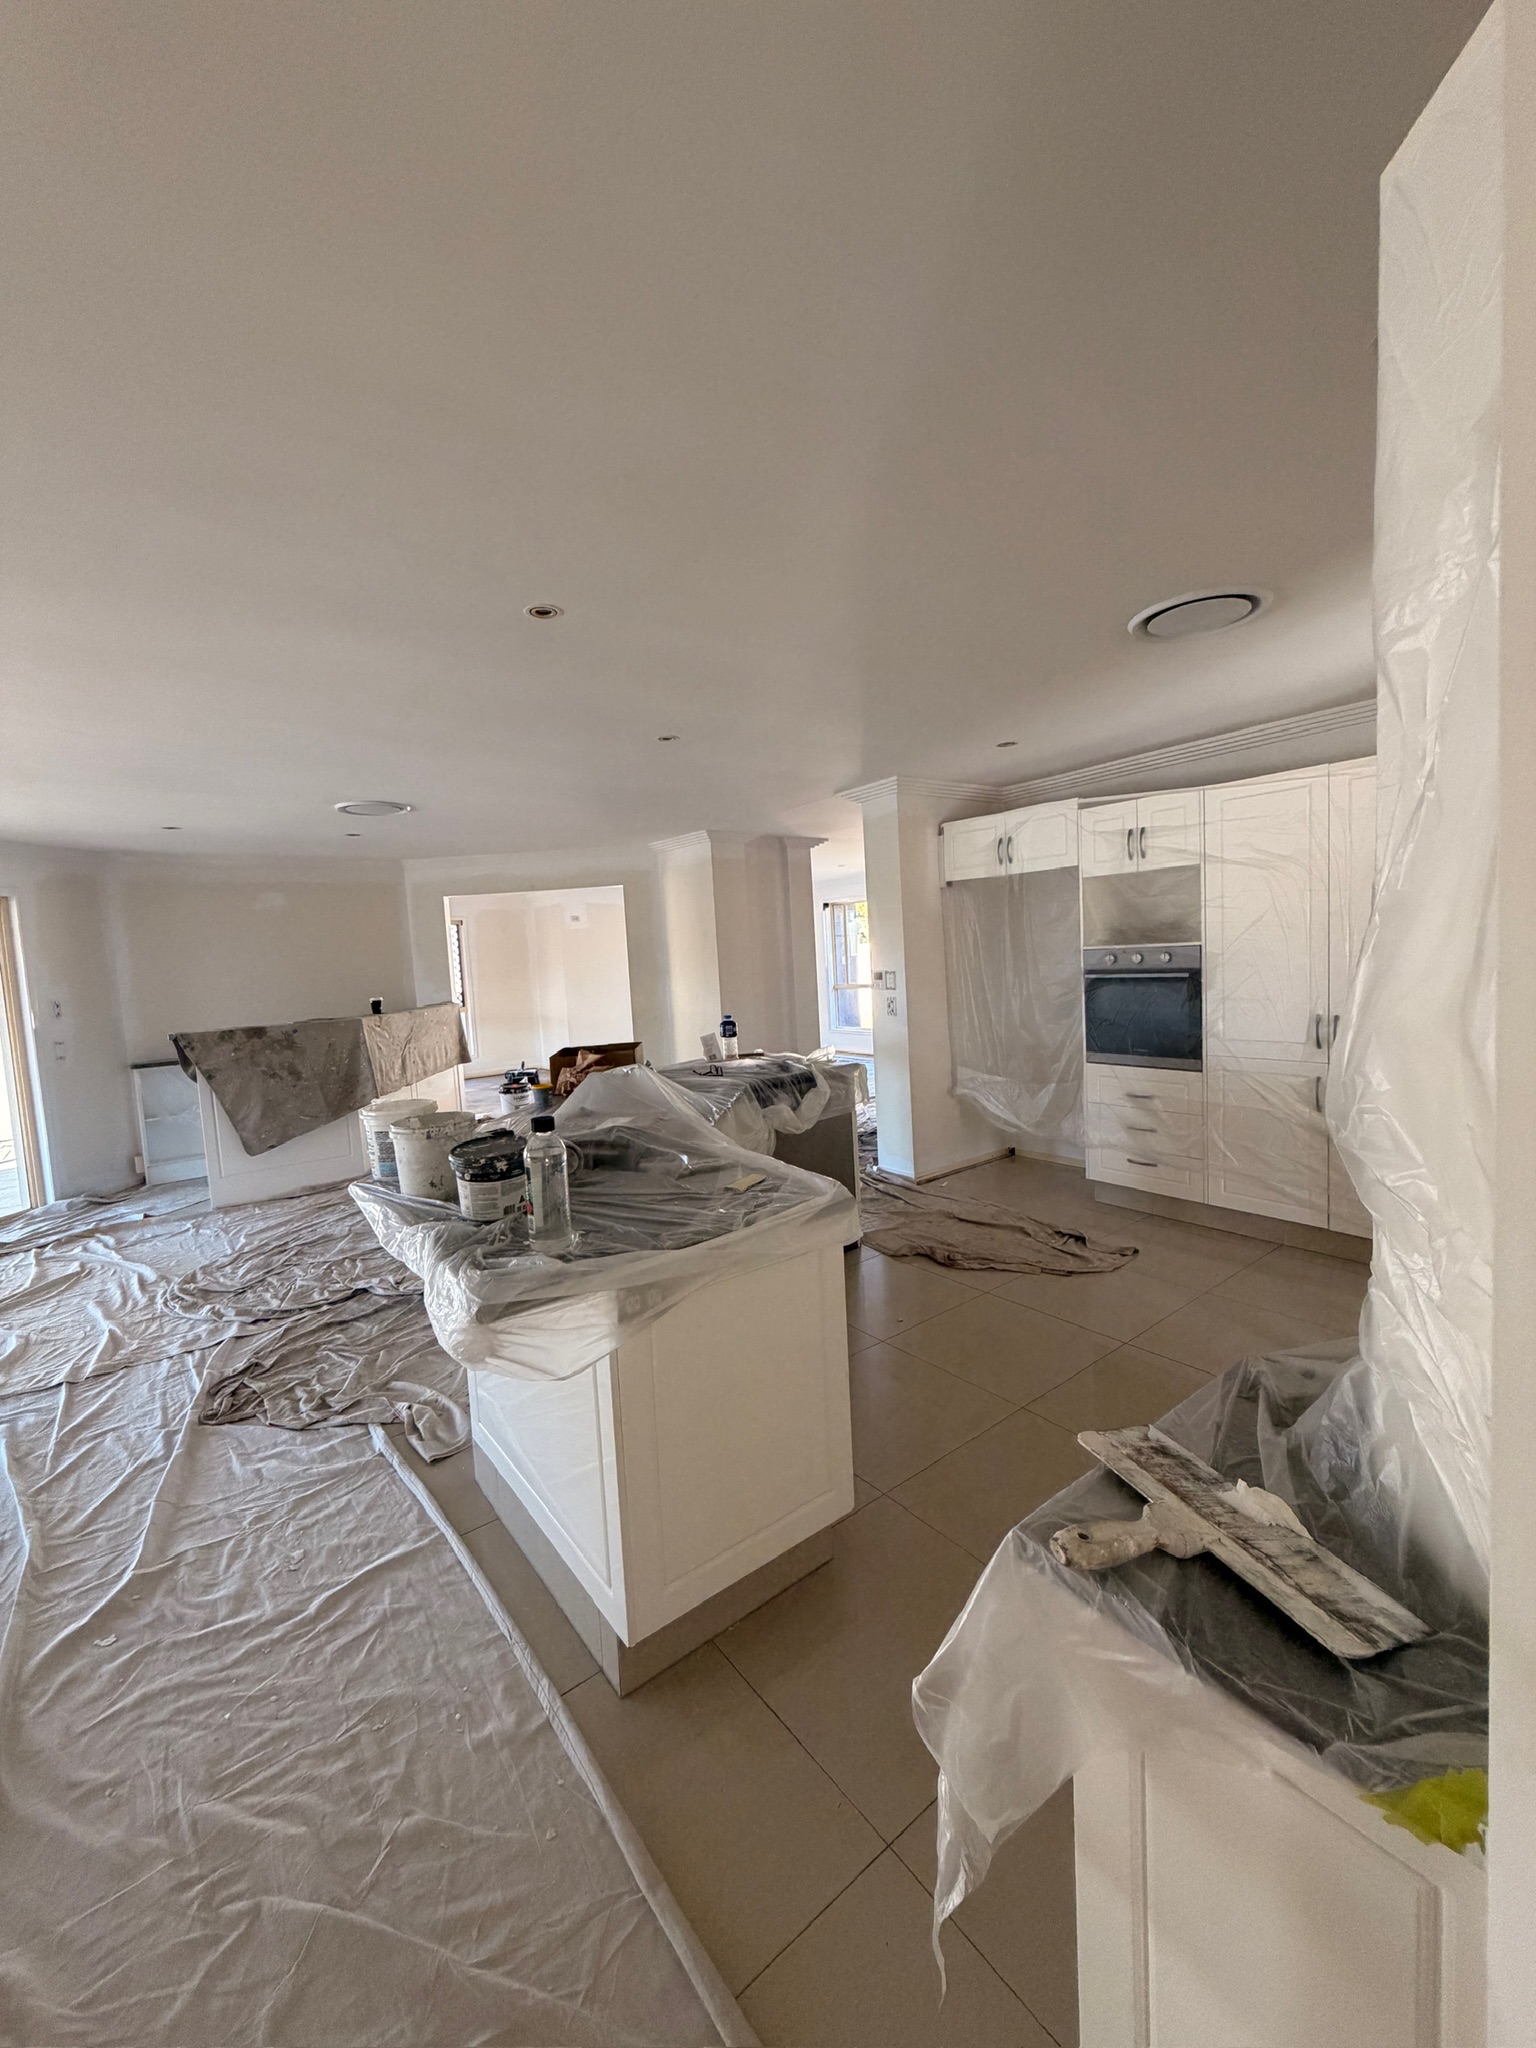
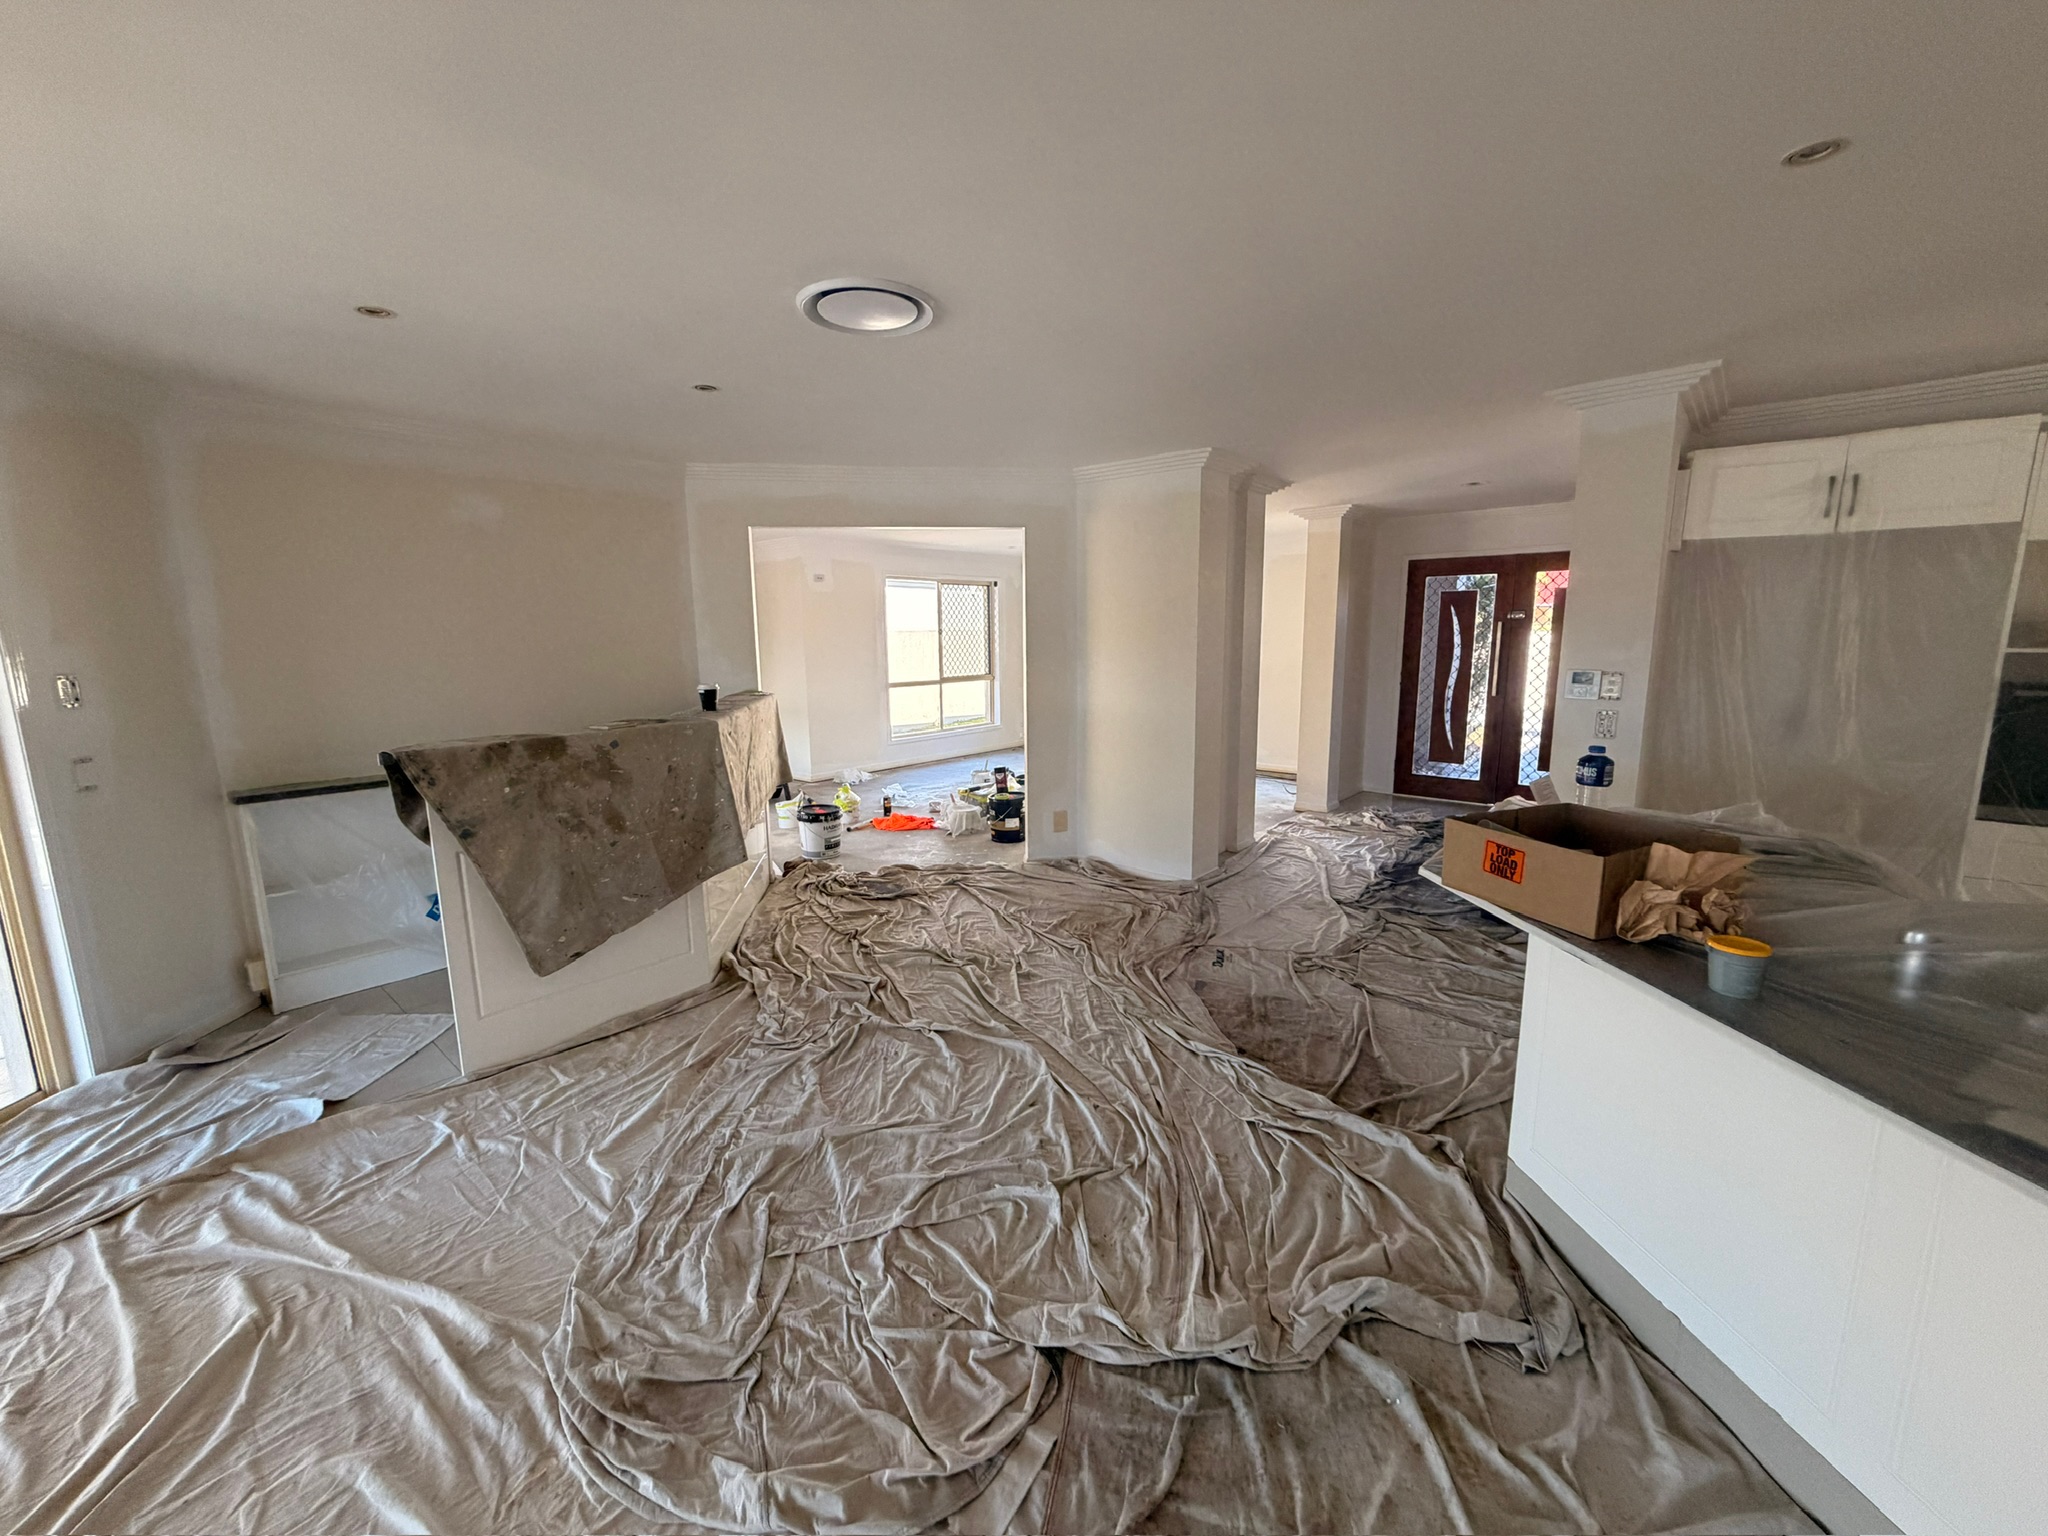
Painting is nearly done in this update. Protected floors and freshly painted rooms show the renovation moving into its finishing stages, with other planned work still to be documented.
The renovation in photos
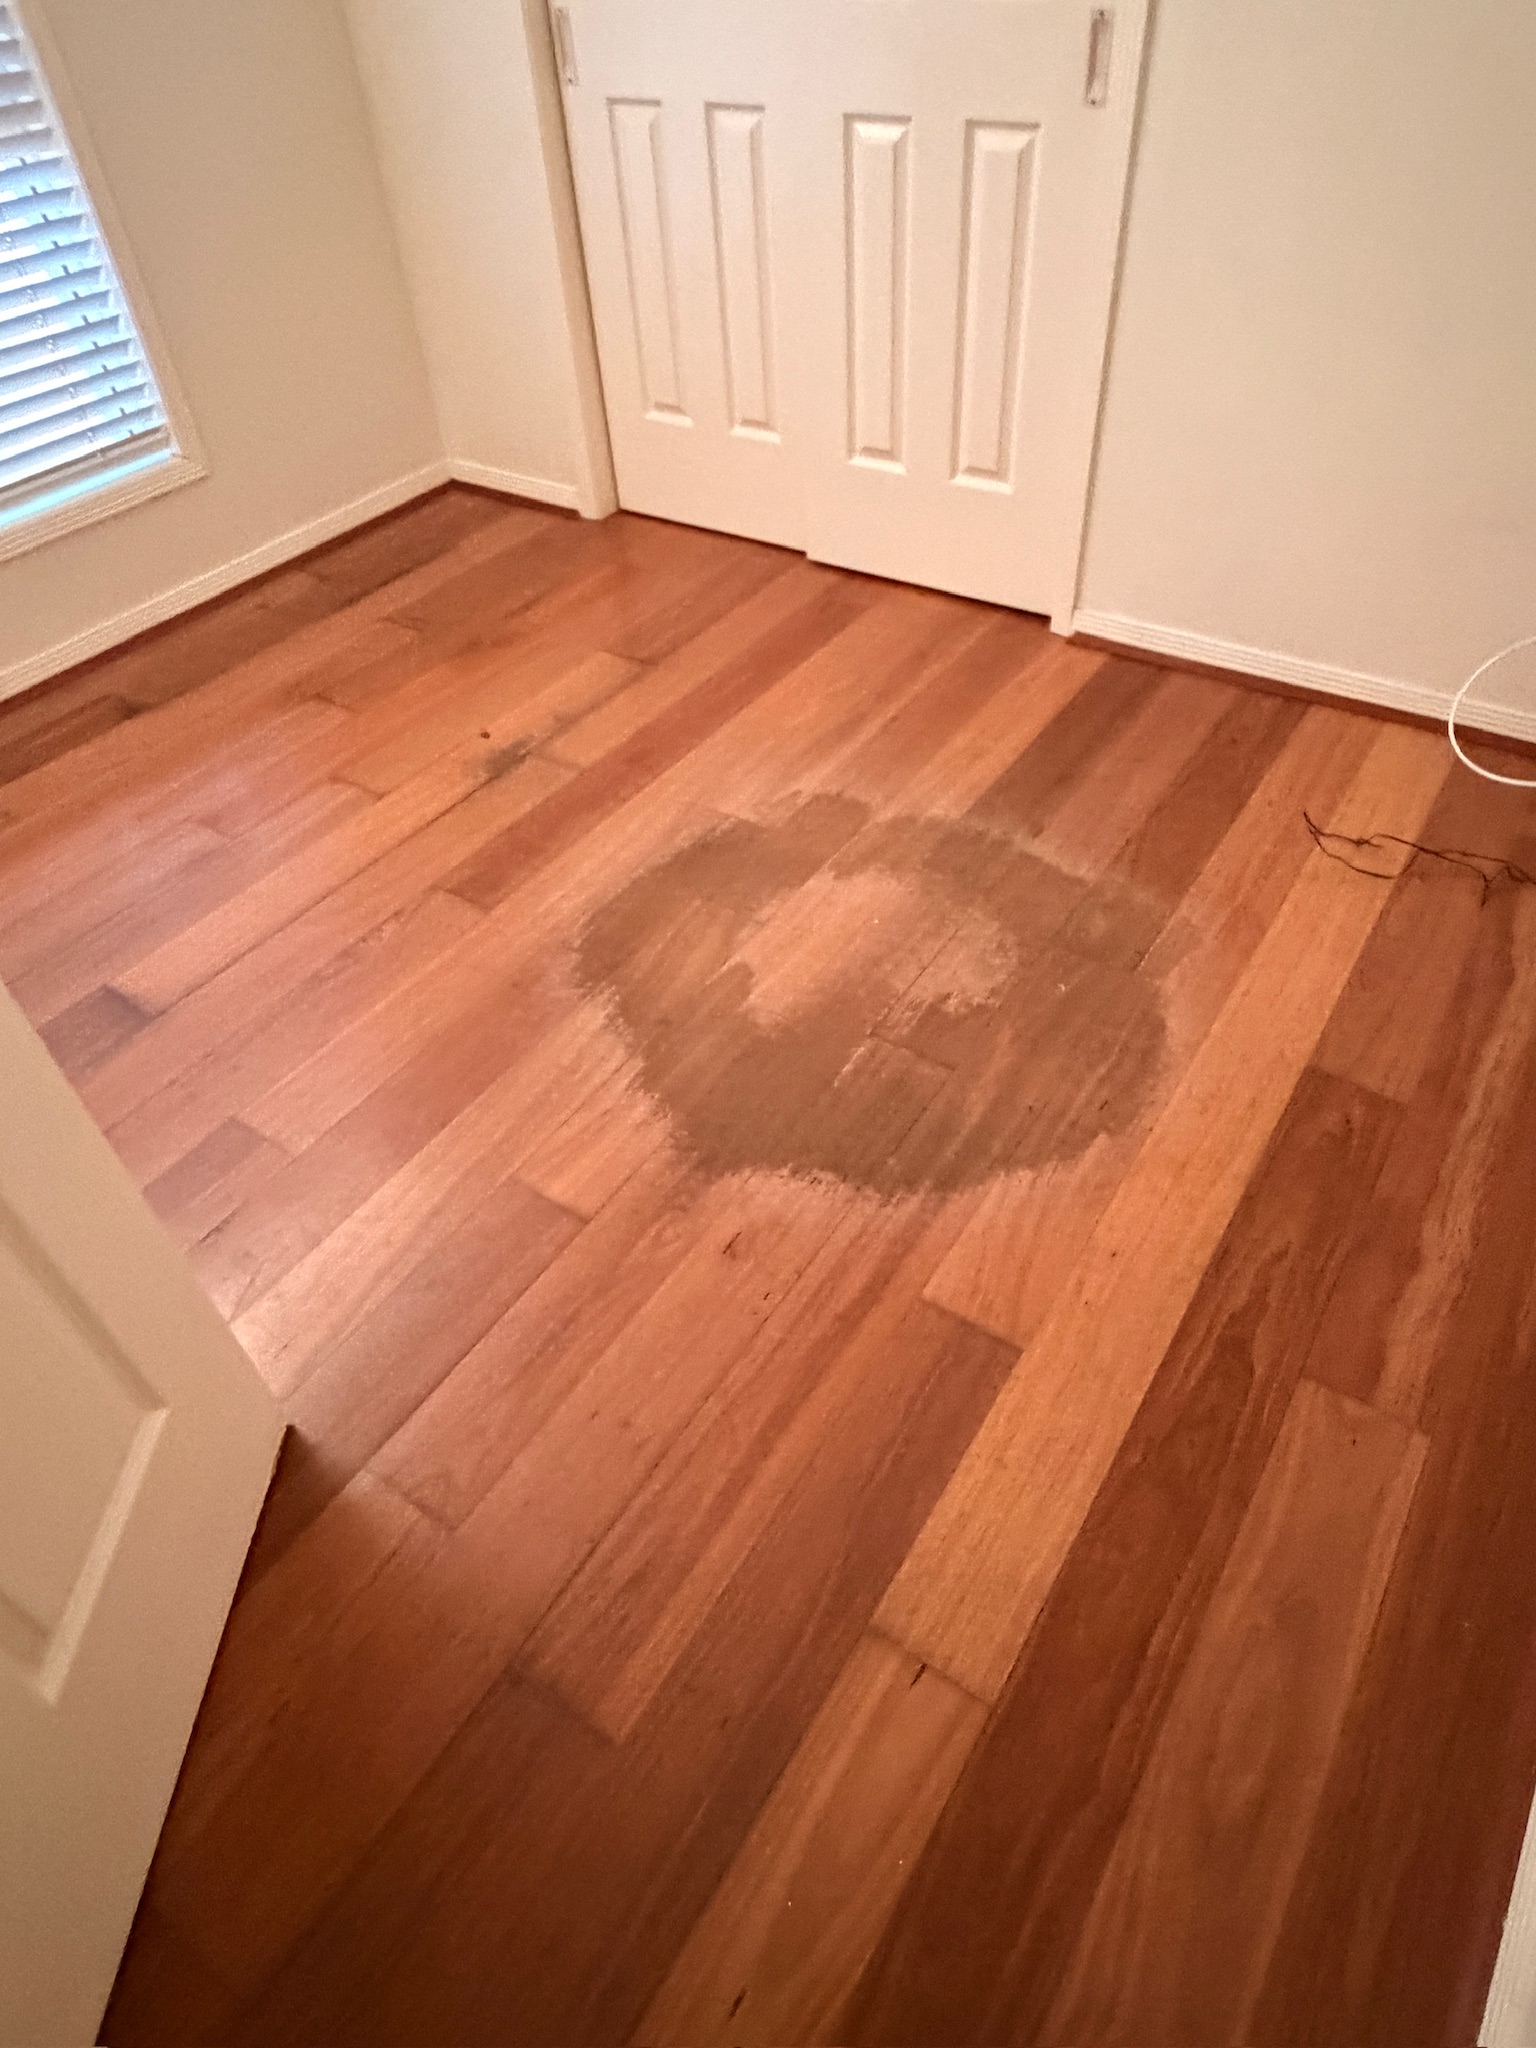
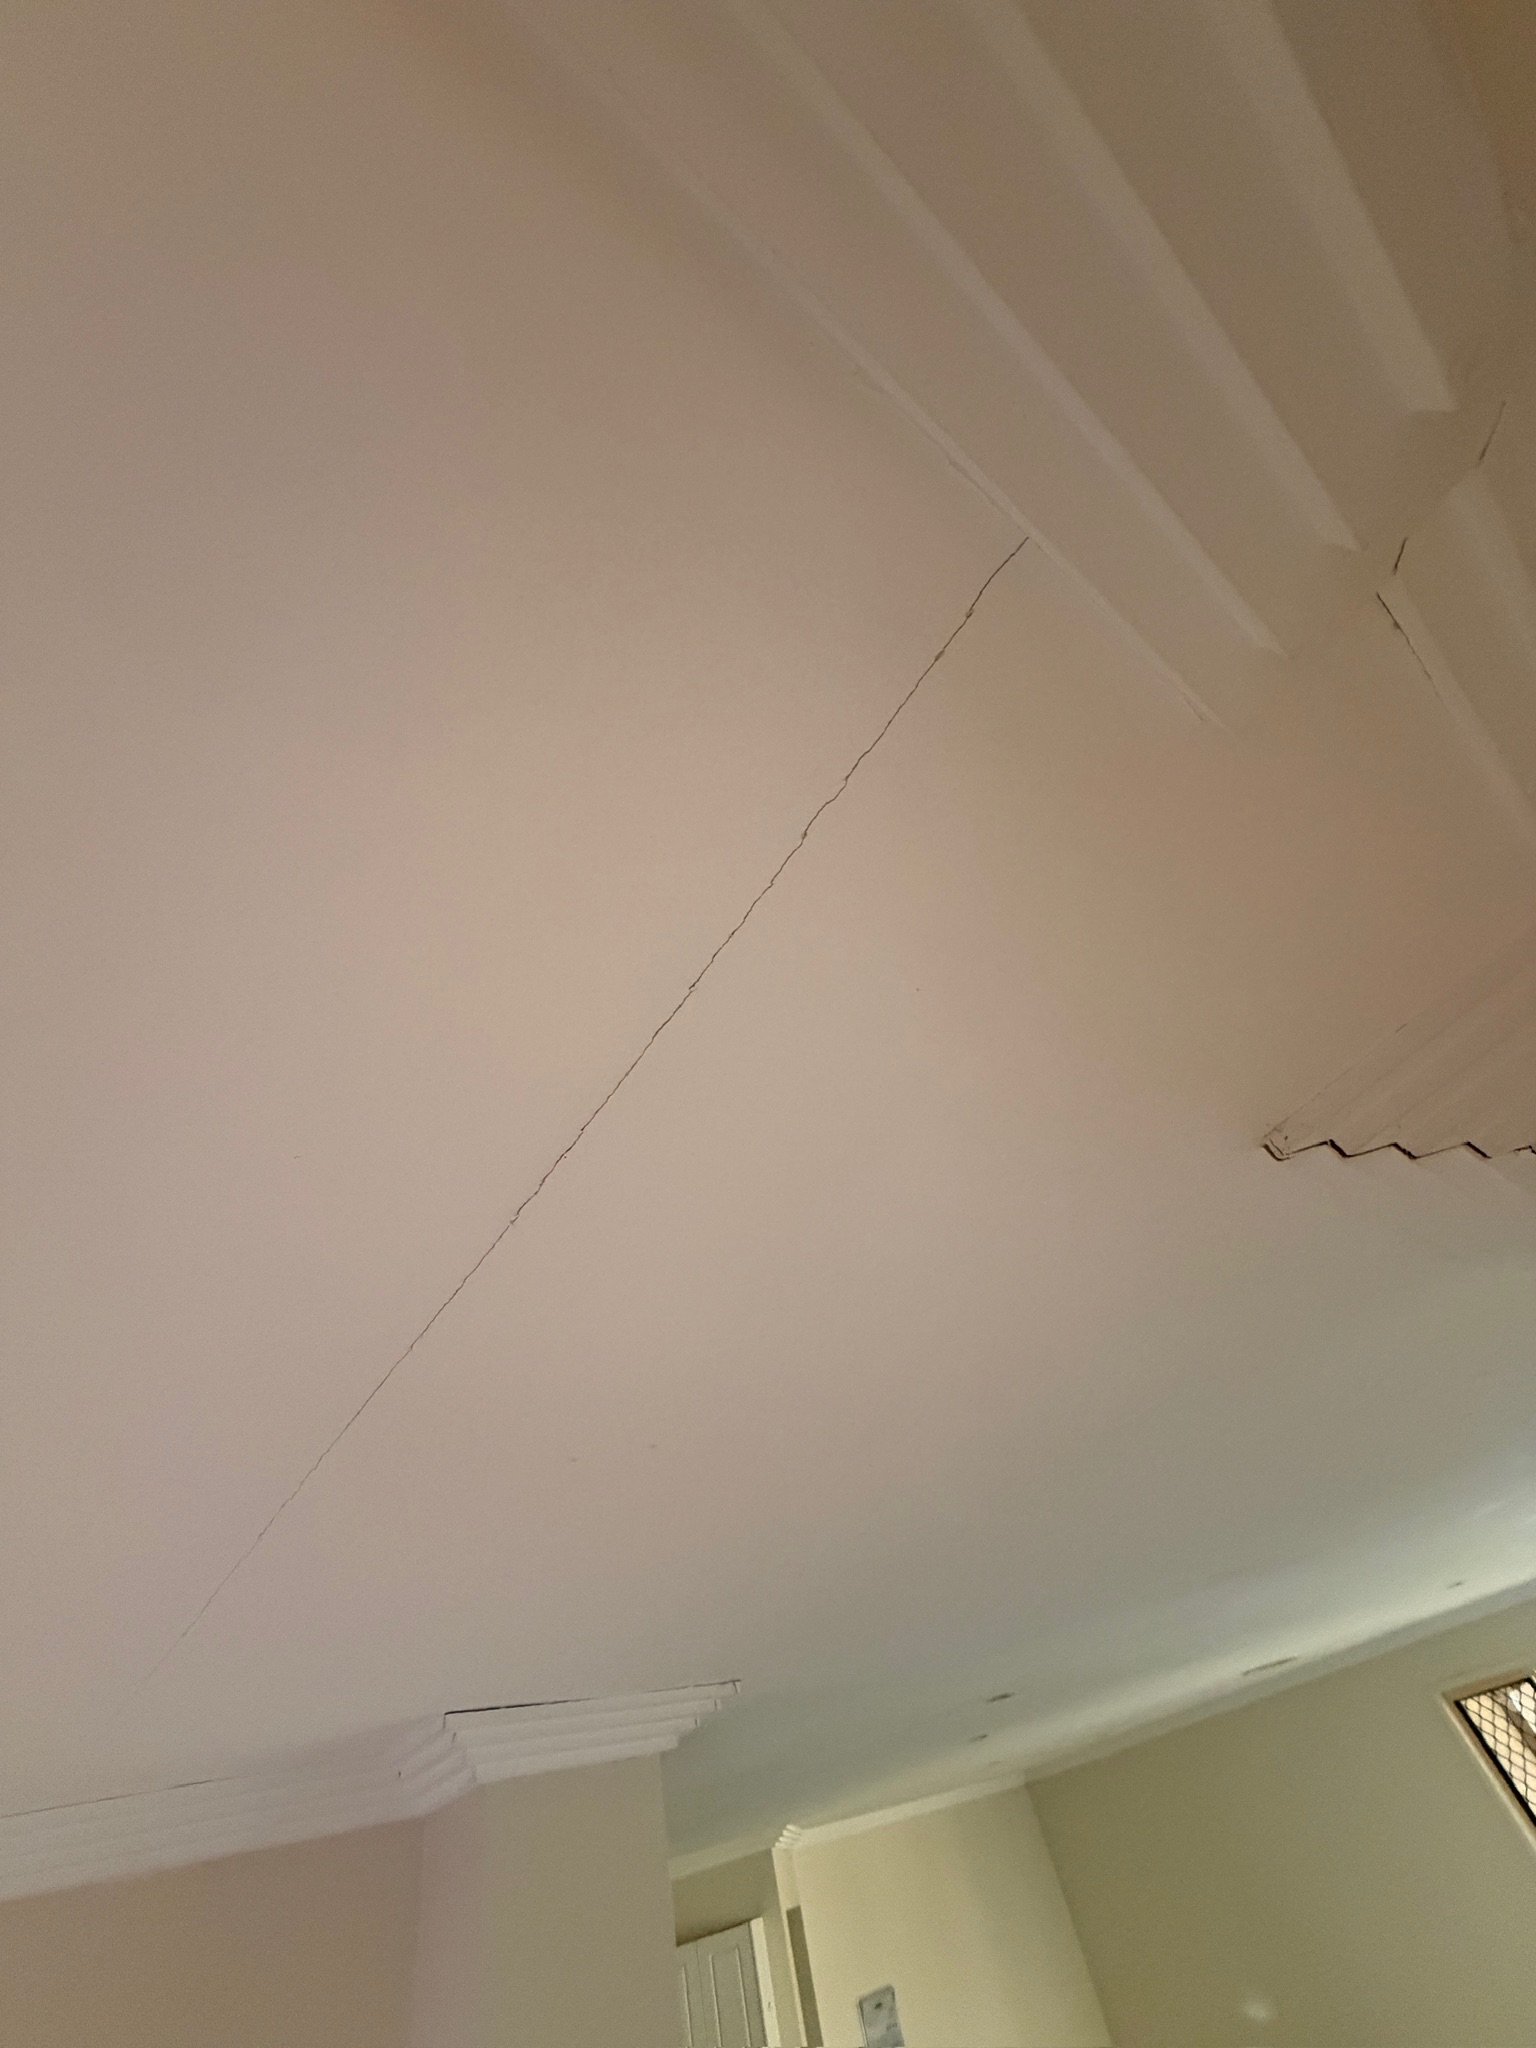
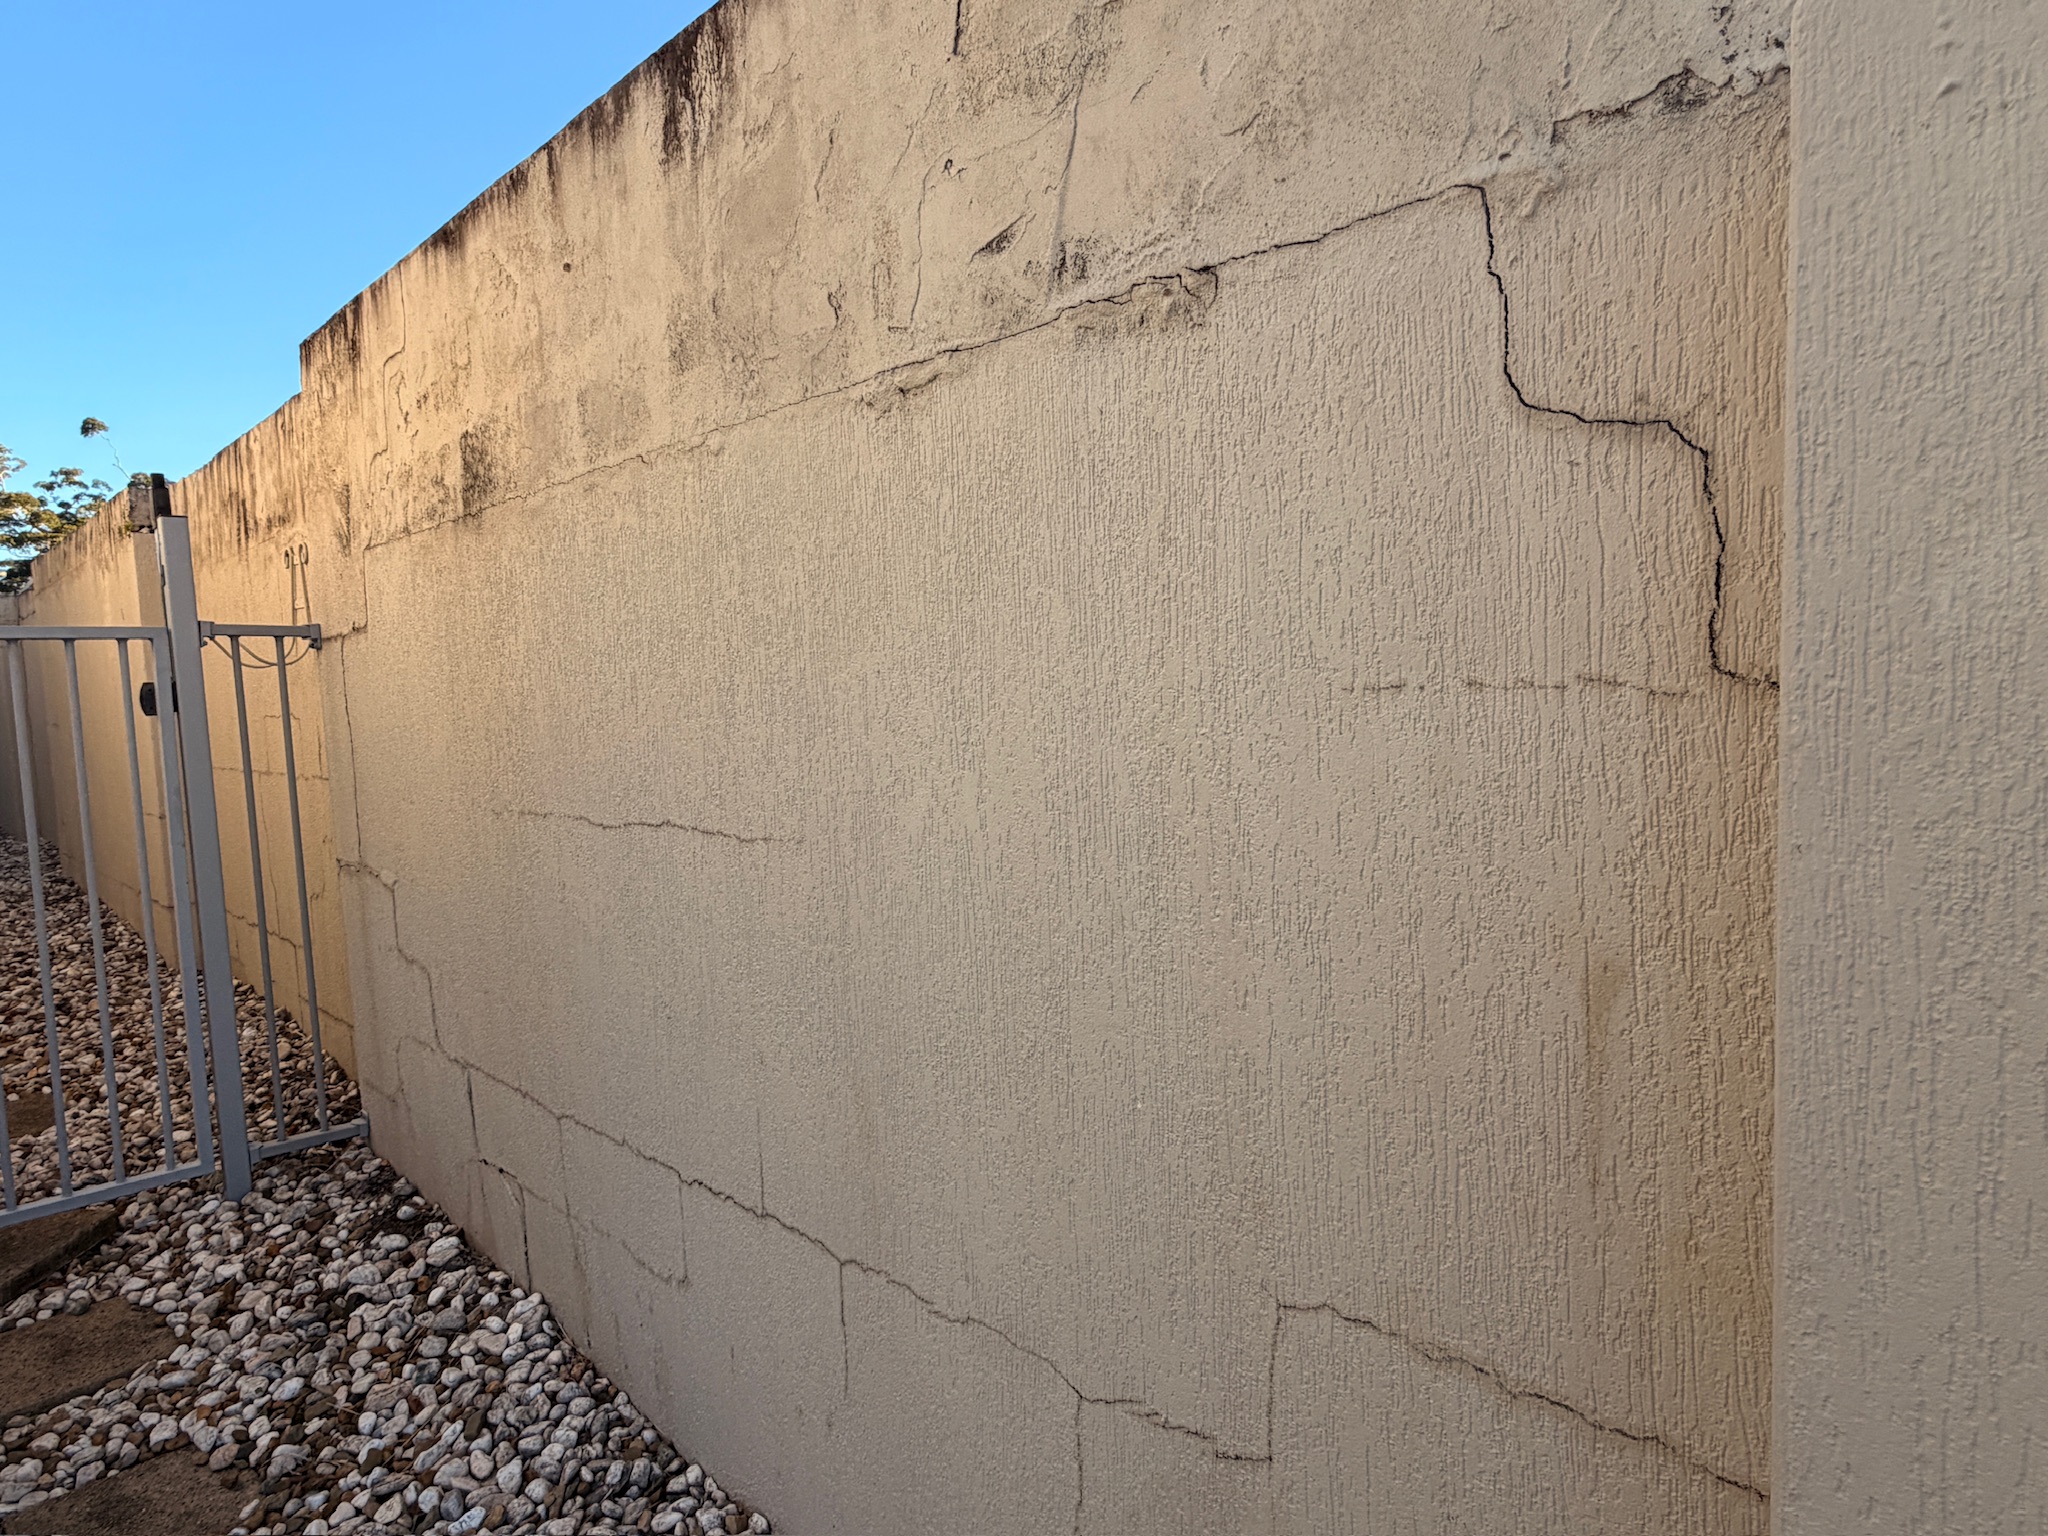
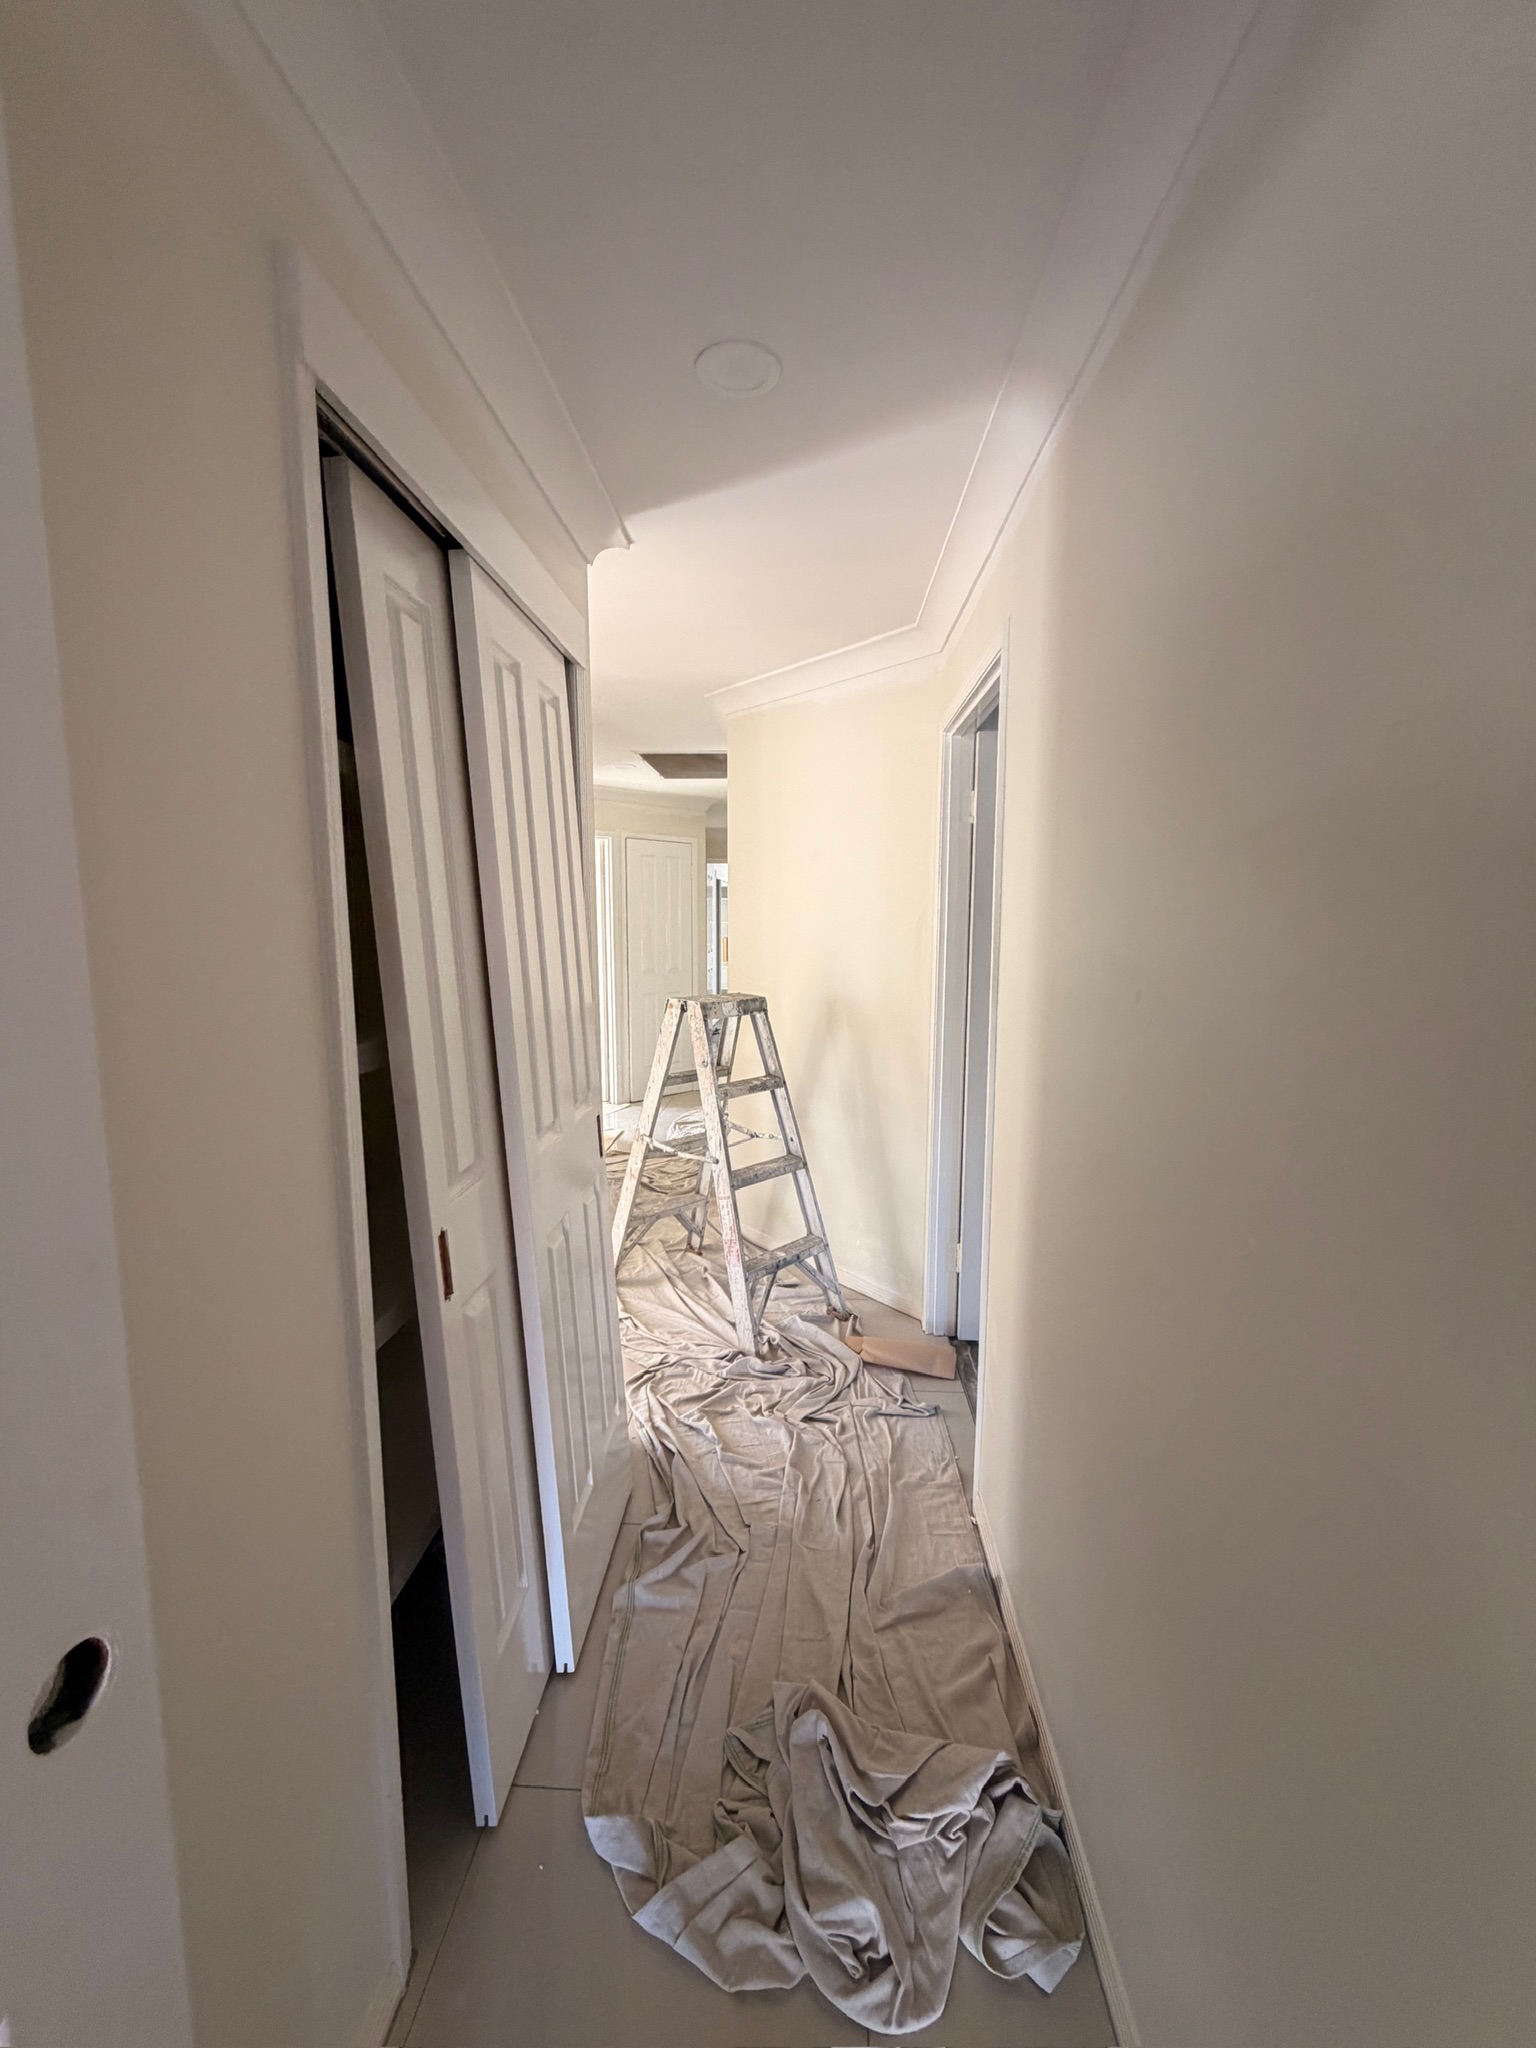
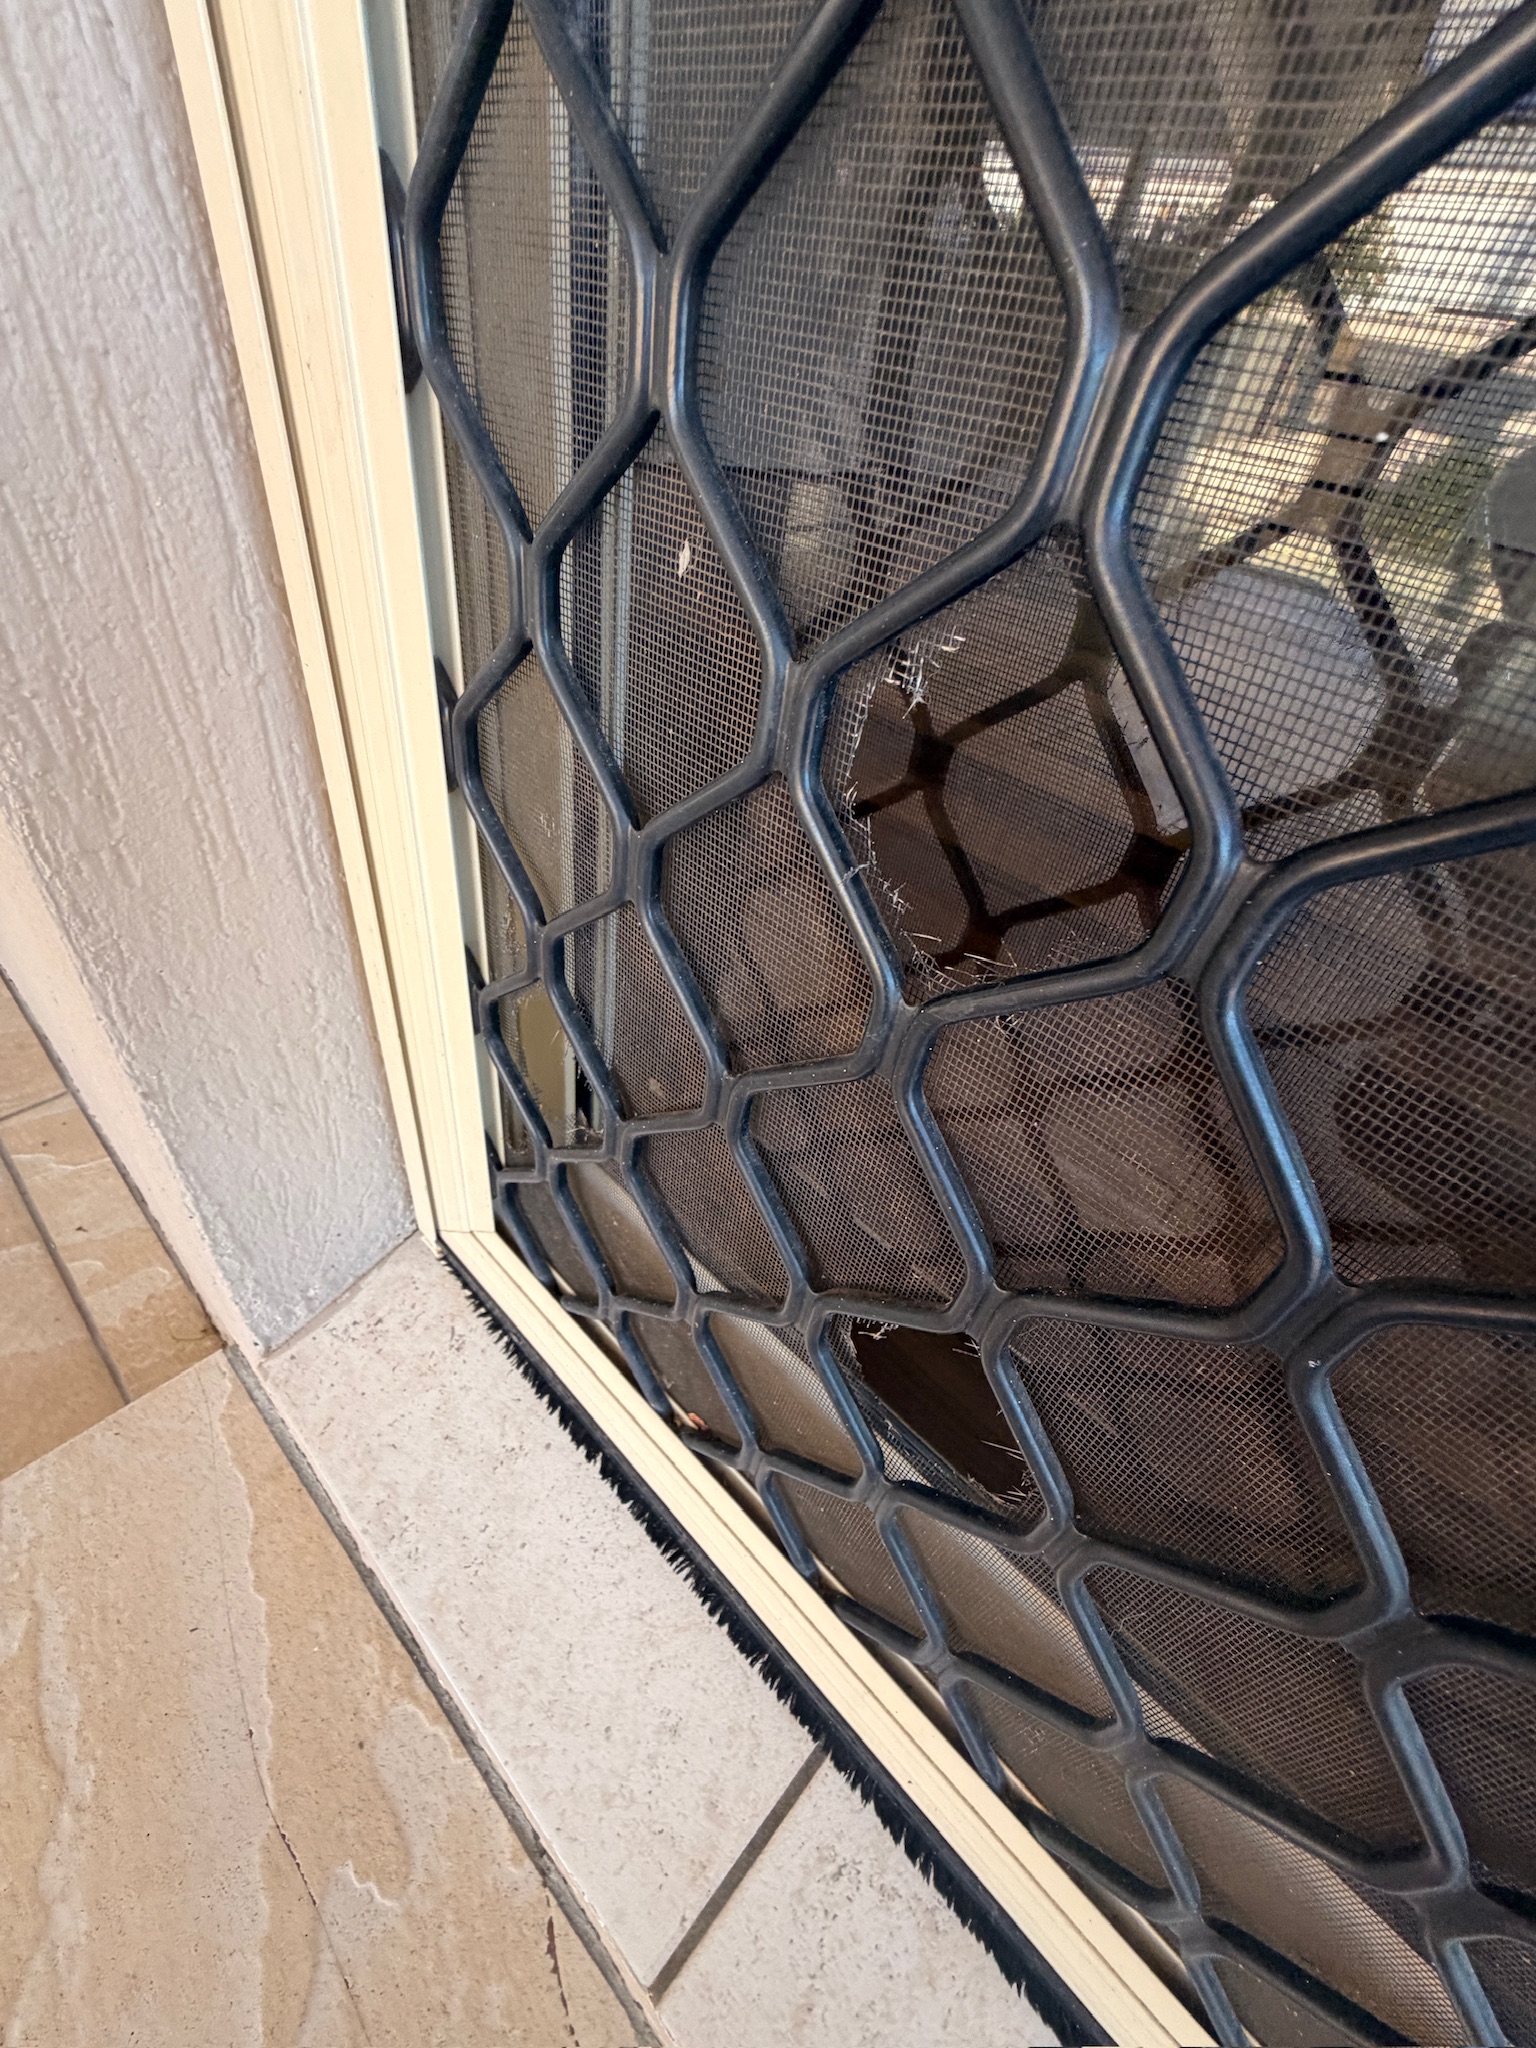
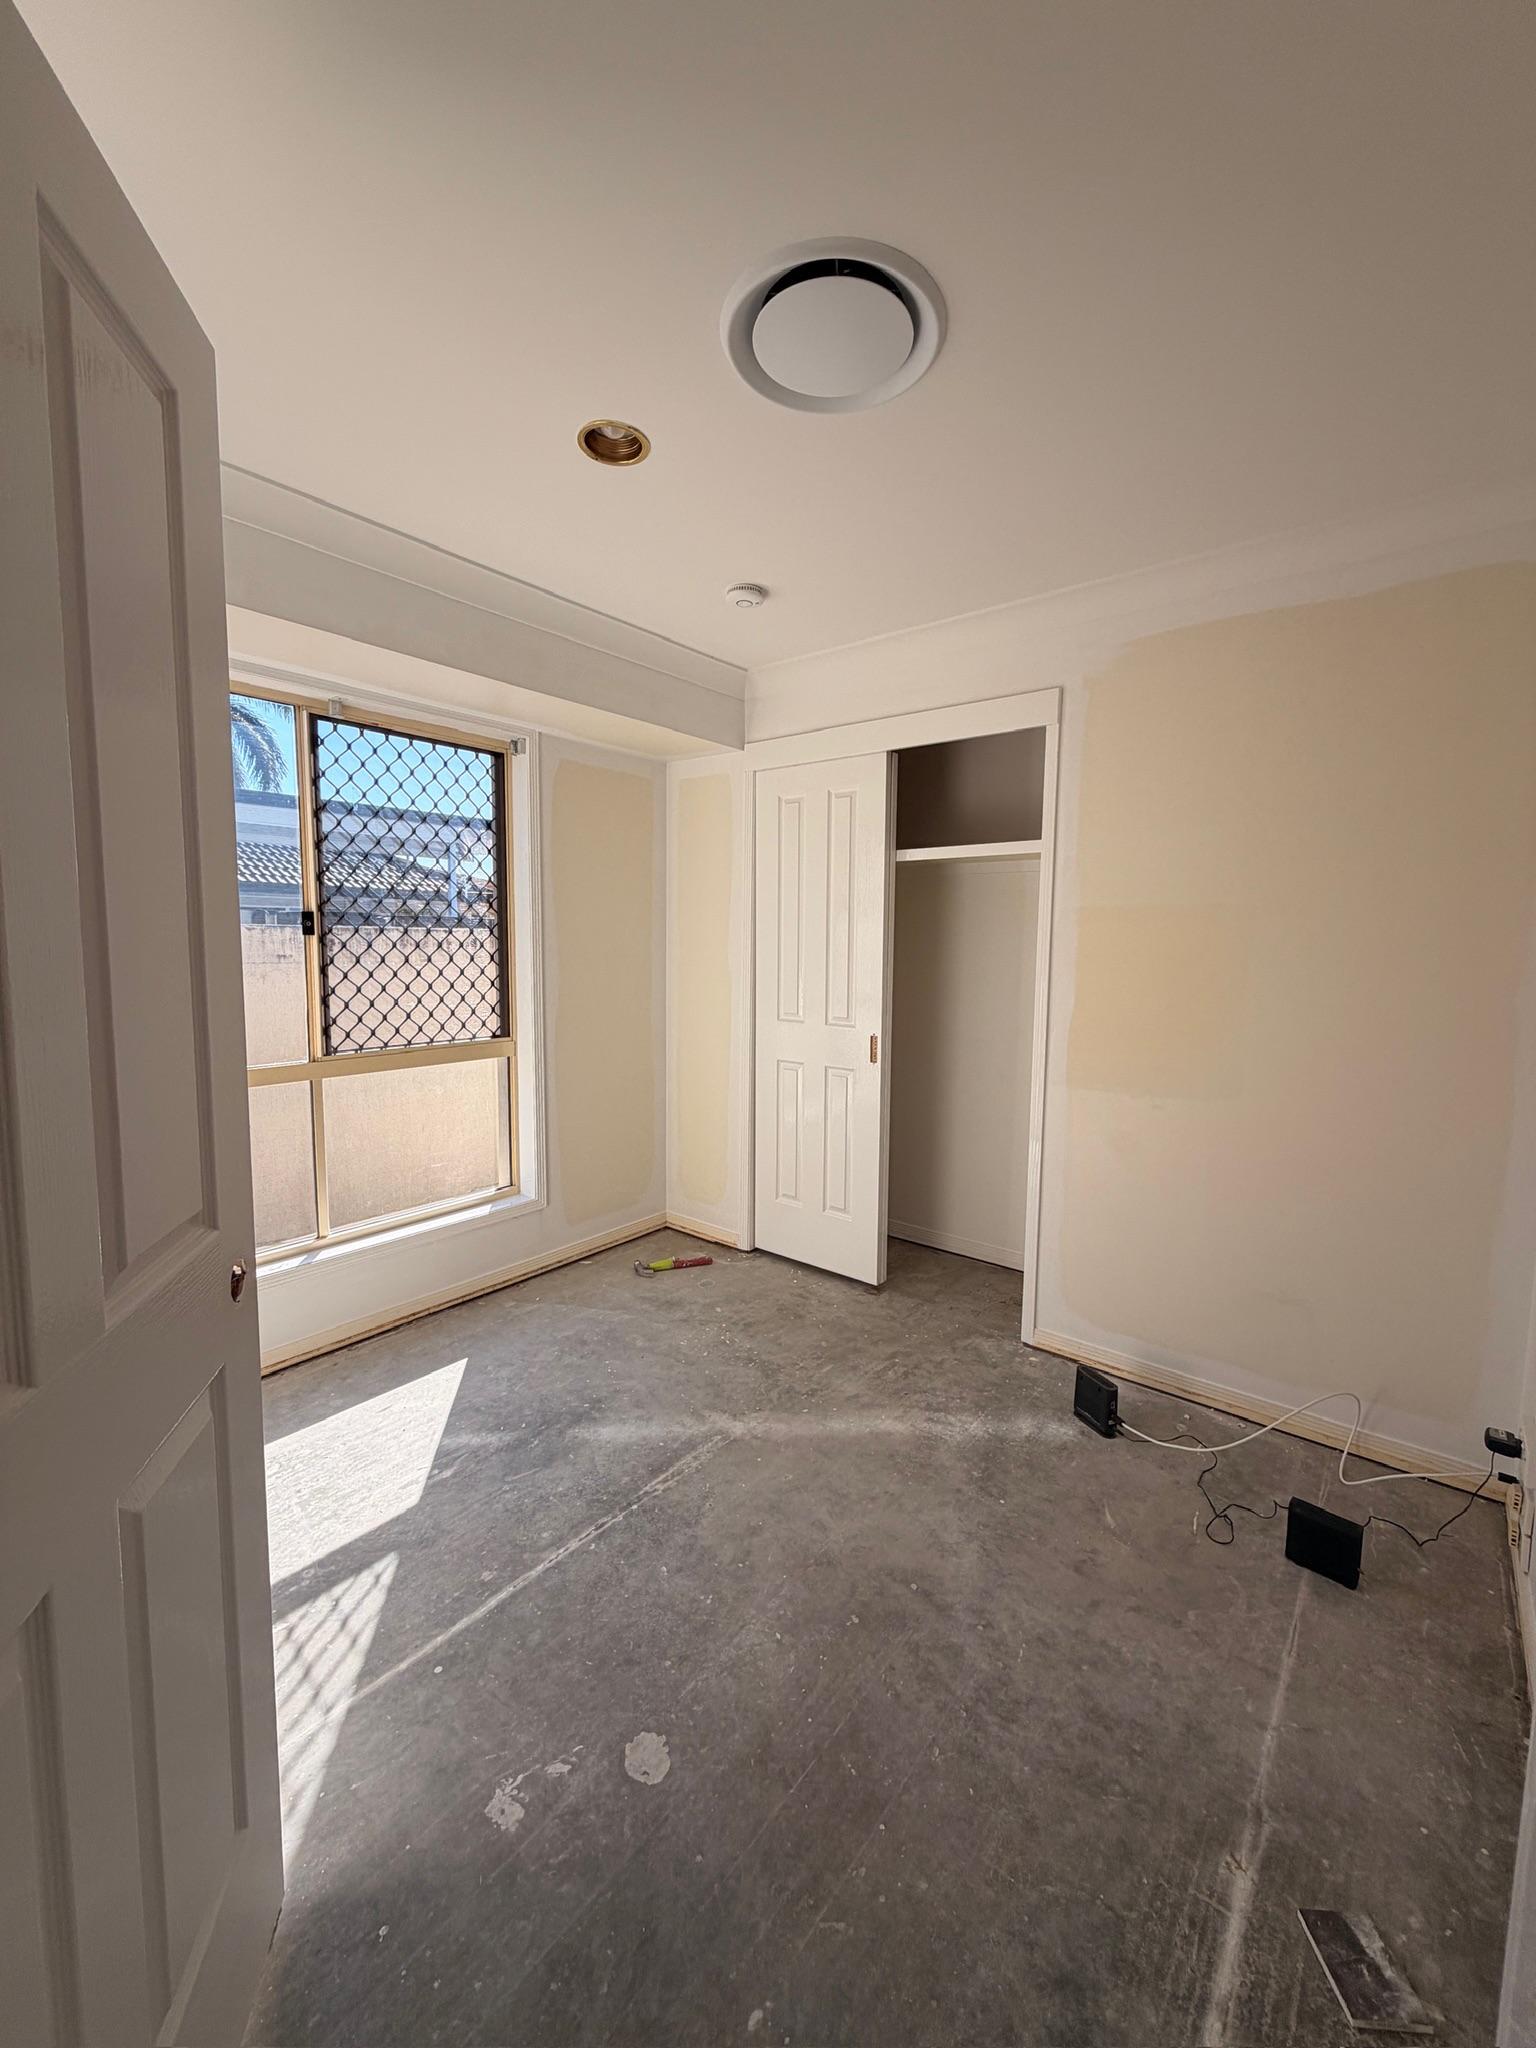
These on-site photos show some of the details behind the plan, followed by the first visible steps of the work.
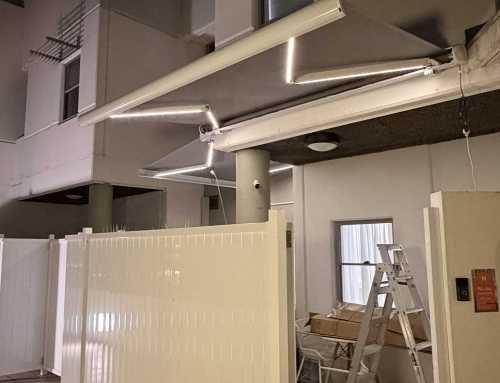
Before: areas needing attention
Work underway
The renovation plan
Floors, walls and finishes
- Remove the existing floating floorboards and install new carpet.
- Repair holes, dents, movement cracks and ceiling cracks, including surfaces affected by removals. Assess and install an appropriate expansion joint.
- Repaint the yellow-toned interiors in Dulux Casper White.
- Clean and repaint the garage floor, and remove the warped garage cupboards.
Electrical, lighting and comfort
- Remove the old intercom, redundant phone points and unused alarm components.
- Replace and reposition lights; remove unwanted fittings, floor lights and fans.
- Repair or replace non-working power points and install new fans.
- Replace air-conditioner vents and filters.
Electrical and air-conditioning work will be assessed and carried out by appropriately qualified trades where required.
Outside and around the water
- Repair the crack in the left concrete fence and repaint it.
- Repair and repaint the front gable above the garage.
- Repair or replace damaged flyscreens.
- Repair tiling beneath the outdoor pergola.
- Repair the deck and pontoon timber, then prepare and restain it.
- Tidy the gardens and surrounding outdoor areas.
Final details
- Complete minor bathroom repairs.
- Allow for additional issues we discover once the old finishes and fittings are removed.
- Finish with a walk-through and a list of any remaining touch-ups.
How we’re approaching the three weeks
Week 1: confirm the scope and materials, protect the home, remove old flooring and unwanted fittings, and begin repairs. Week 2: coordinate plastering, electrical work, painting preparation and external repairs. Week 3: complete painting, carpet, new fittings, timber finishes, clean-up and the final walk-through. Some jobs will overlap, and the order may change once the trades inspect the property.
Follow the diary
This is the starting point. We’ll document the before, the work in progress and the finished result here, including what changed from the original plan and what we learned along the way.
Leave A Comment
You must be logged in to post a comment.